Monday, August 22, 2011

Caromal Colours Reclaim Corners Cabinet


Look at this fabulous make over!


This is what we started with!  It used to sit on the landing in our home!


April removed the hardware and door and applied the first coat of Reclaim in Latte!


Here is April, happy that the second coat is done!!


Now for the knob!  April and Frank wanted the knob on the left!  A beauty that I picked up in May at a flea market, but I was not willing to let it go!  Selfish me!  So, I took the the middle knob and applied a coat of  Caromal Colours Textured Base Coat in Peppercorn.  Once dry, I applied Chipping Creme and let that dry.  The last coat was the Textured Base Coat in Putty.  I painted a teal colored circle in the middle to mimic the first knob.  April used a piece of metal and chipped off some of the paint to give it the aged look of the first one.  Do you like this?  We do!!!


April put the hindges, knob and latch back on!


I love it!


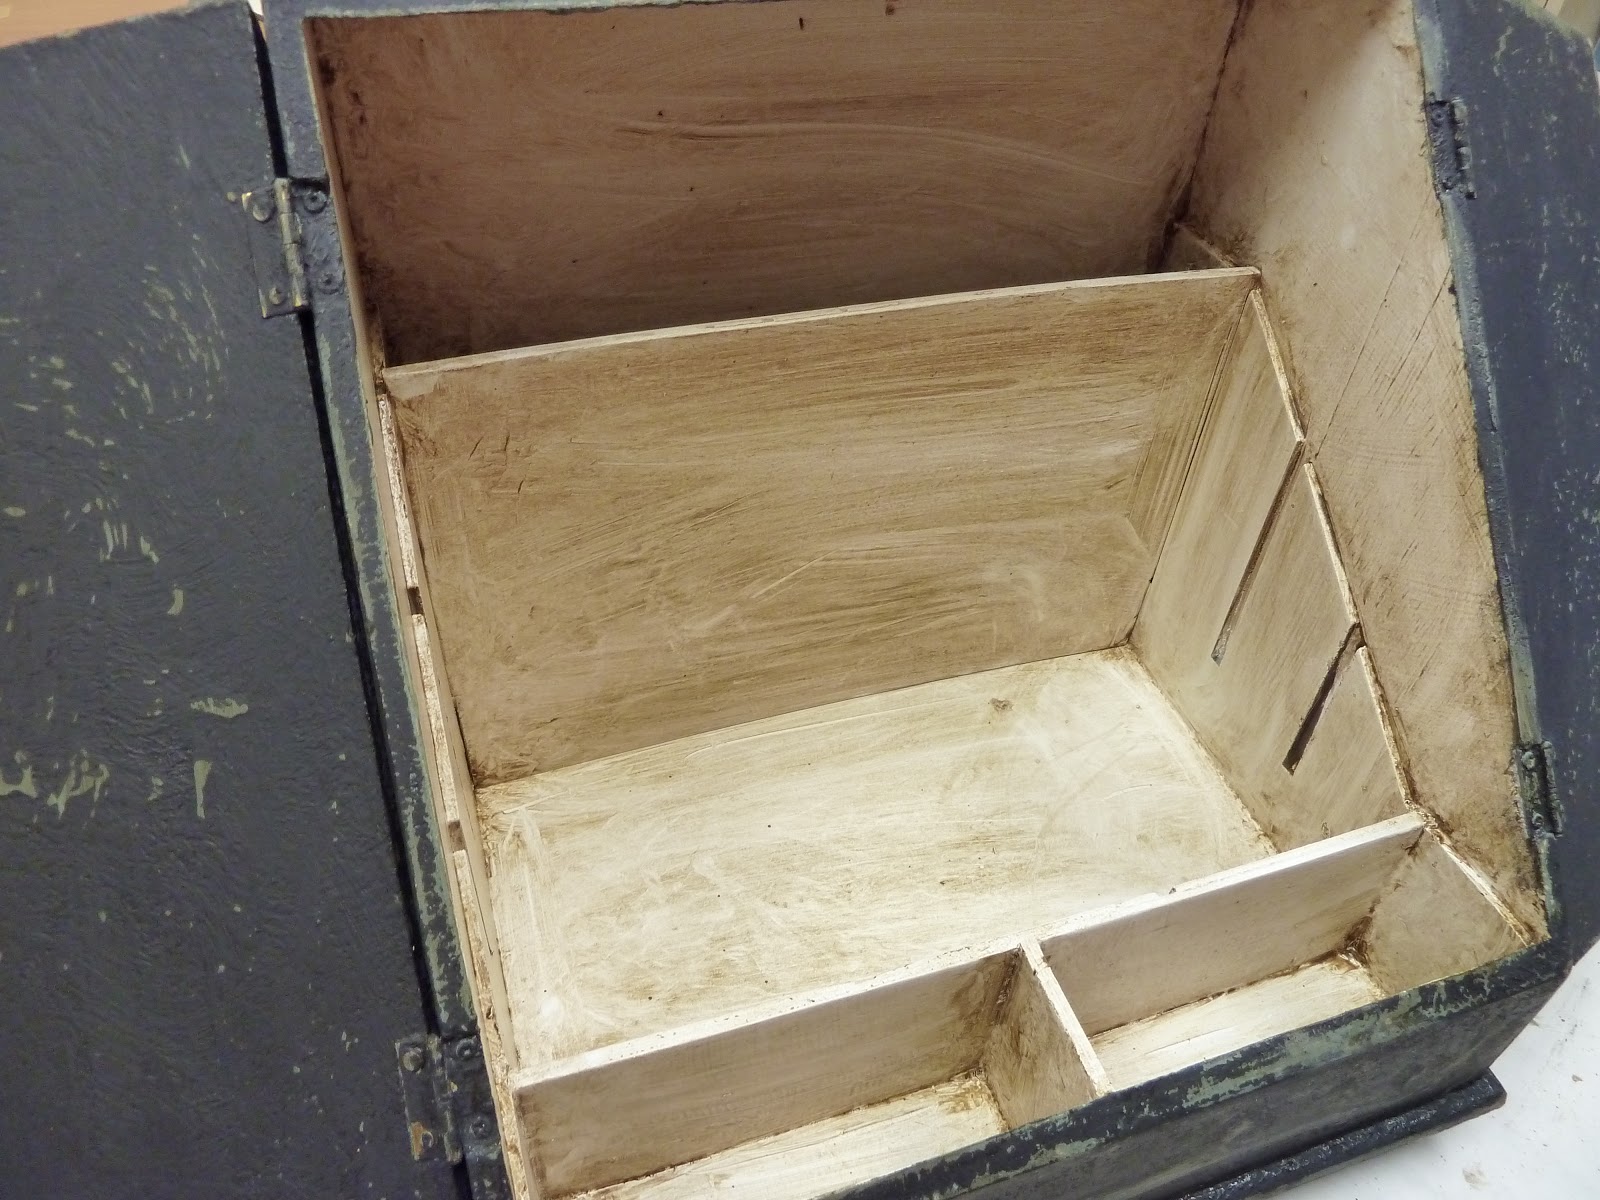
No work needed to the inside!


Finished!!  In one short afternoon!


My favorite part!!!
Hope you join as a follower!!  Then you can be the first to see our next creation!
If you order Caromal Colours online please remember to use my coupon code "DGS" for a discount on shipping. 


Saturday, August 6, 2011

Frank & Debi's Painted Eggs

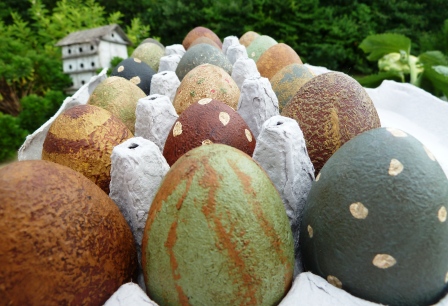
 Three dozen + painted wooden eggs.


 In an effort to clear out my basement studio storage, 
Frank and I tested our Caromal Colours on these wooden eggs.  
(if you order the paints online, remember to use my code DGS to get a discount on your shipping!)


Close ups show some of our techniques!

If you don't have wooden eggs you can use plastic ones.  
The paints stick just as well to the plastic as they do to wood!  


We like how they turned out! But they can be a challenge to paint!

We painted a base color on each egg, covering the entire egg and let them dry on a wire drying rack. Once dried we touched up the area of the egg that touched the wire rack.

I sanded each egg before we began the decorating details.

 The decorative details were the most fun of this whole process!  We dried them on the wire rack as well. I sanded them one more time, covered them with toner and my final step was waxing the eggs with Liberon Fine Paste Wax.


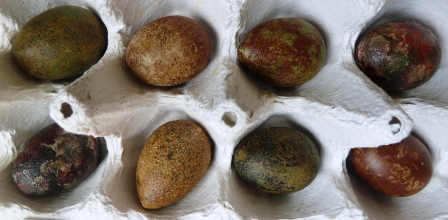
These are the mini baby eggs!  Aren't they so cute?
You can also contact me through my website, DeborahGayleStudio.com, and order the paints directly from me.

Thursday, August 4, 2011

Hydrangea Tray using Caromal Colours Reclaim

Hydrangea Tray 18" in diameter.
This beautiful wooden tray was made in Sweden and had seen better days.

Using White Reclaim, I rolled the paint on both sides of this tray. Two coats were needed to cover the black splotch on the wood.

Caromal Colours has a wonderful large Hydrangea Stencil!

Using Caromal Colours Stencil Cremes I stenciled the flower using Lilac, Berry Blue and some Snowberry.
For the leaves I used Mossy Green and Mother Earth.

When the Stencil Cremes were dry I sanded the entire piece and used a scrapper to remove paint in areas, giving it age.

Toner was brushed over the entire piece and some was removed with a soft rag.

Two coats of varnish seal the tray so that is can be used as intended!

Monday, July 18, 2011

Caromal Colours April's Frames & Mag Holders

Isn't that the cutest birdie?  This cutie adorns the Magazine holder box that April painted in the evenings, while we were on vacation at the beach last week! Read on to see what all she did with Caromal Colours Texture Base Coat and Stencil Cremes. (Remember to use my coupon code "DGS" when ordering online or by phone with Caromal Colours, or just contact me to order)
April started with simple inexpensive wooden frames and wooden magazine holders from Ikea.  No prep work needed when using the texture base coat. April painted one frame with Bayberry, one frame and one magazine holder with Mustard and one frame and magazine holder with Pumpkin.
 April took her own advise and designed and cut stencils out of watercolor paper.
April stenciled her designs on the three frames and the magazine holders using Caromal Stencil Cremes, Rosy Red for the birds on the frame, Lilac for the flowers on the frame, Sunflower for the pears on the frame and Mossy Green for the bird on the magazine box.  For the letter A, April based the letter with Snowberry White and once dried went over it with the Lilac.  When all was dry she sanded them lightly, stencil and all!

Still using the Stencil Cremes, April took a paintbrush and added details to her stenciled designs, beaks, feet, stems and centers using Blackberry Stencil Creme.


Aren't they great!  I love them all!  Great job April! Caromal Colours , Check it out!  (Remember to use my coupon code "DGS" when ordering online or by phone with Caromal Colours, or just contact me to order)

Caromal Colours Kristen's Doggie Bucket

While at the beach we have to do some kind of project!  So, I brought some galvanized metal buckets to paint.  Kristen wanted to paint it with a doggie theme for her two precious pups, Khaki and Zoey!

We started with a tin bucket picked up at a local flea market.

After cleaning the metal with Simple Green, Kristen went to work pushing and smashing on a coat of Caromal Colours Reclaim paint in Sage.  Kristen was covered it in two coats and allowed it to dry overnight.

We did not have any stencils with us. My daughter, April, suggested we make stencils out of watercolor paper, that she had on hand.  Kristen drew her bone and paw designs and cut them out. She used blue painter's tape to adhere the stencil to the bucket.  Remember, to try the stencil on a scrap piece of paper before attempting the final project.


Kristen used Caromal Colours Blackberry Stencil Cream for the paw prints.  Mother Earth and Wheat were used for the bones. (Remember to use my coupon code "DGS" to get a discount on your shipping or contact me for the products)  Kristen stenciled them randomly around the outside and the inside of the bucket.

Her is the finished product again.  I had Kristen give the bucket one coat of varnish to give the stenciled areas some protection.  Didn't she do an awesome job!  I am so proud of your work, Kristen!!!!

Wednesday, July 6, 2011

Caromal Colours Painted Wooden Box


Using the Caromal Colours Paints (CCP), I took this brightly painted flowery box (that i picked up at a yard sale for $3) and transformed it into an aged piece to match my decor!  
The first thing I did, was remove the flower handles and replaced them with some plain round wooden handles.  Then I cleaned the entire box with Simple Green.  ( I save the flower handles for a future project).

Next, I pushed and twisted a combination of CCP colors, Colonial Blue and Bayberry Textured Basecoats, 1:1, onto the entire outside surface of the box.  I let that dry.
Once the texture base coat was dry I added a layer of Chipping Cream. The Chipping Cream actually goes on white but dries clear, so you don't see all of it in this photo.  I remembered at the last minute that I wanted to take a photo!  The Chipping Cream allows the next layer to be removed when sanded therefore revealing the under color.
When the Chipping Cream was dry, I added a layer of Peppercorn CCP Textured Basecoat on the entire box. 
When the Peppercorn was dry I began the sanding using a mouse sander.  That's me pretending to sand.  I do this kind of sanding outside!  and use a mask if you have one. It is important to sand more in areas that would have gotten the most use when you are attempting to make the piece look authentically old.  In this case I sanded mostly on the edges of the doors and around the handles.

I just love to see the under color come through!  Now we are ready for toning!


The toner is applied with a paint brush and removed with a cotton rag.  The toner pulls the two colors together creating a wonderful blend that is pleasing to the eye and gives the appearance of older paint. I added toner to the inside also.
Now it just needs a good coat of wax or varnish to withstand it's new on my desk!  If you like what you see and would like to learn more about the paints and the application process, please go to   www.deborahgaylestudio.com    and look under Creative Classes, Upcoming Classes or the Calendar for a future class!  Hope to see you soon!

Hand Crafted Feather Jewelry

Look what Deb Beach and I did this morning!  Deb has been wanting some feather earring using the feathers of her beloved Guinea Fowl.  We picked some winners from the feather stash and wala!  Earrings and a pendant.