Art Day at Painted Trails
Monday October 14,2013
Scrap Metal Art Project

Using wood and metal found objects we created Metal wall art Owls


Samples In the photo on the left, the owl on the left was designed by Frank and the one on the right was designed by Debi, me. The owl in the photo on the right was designed by me and adopted by my sister, Grace Kelly.
When gathering supplies, I went through my own stash of metal treasures and then went out and looked for more metal pieces at thrift stores, second hand shops, yard sales and flea markets.
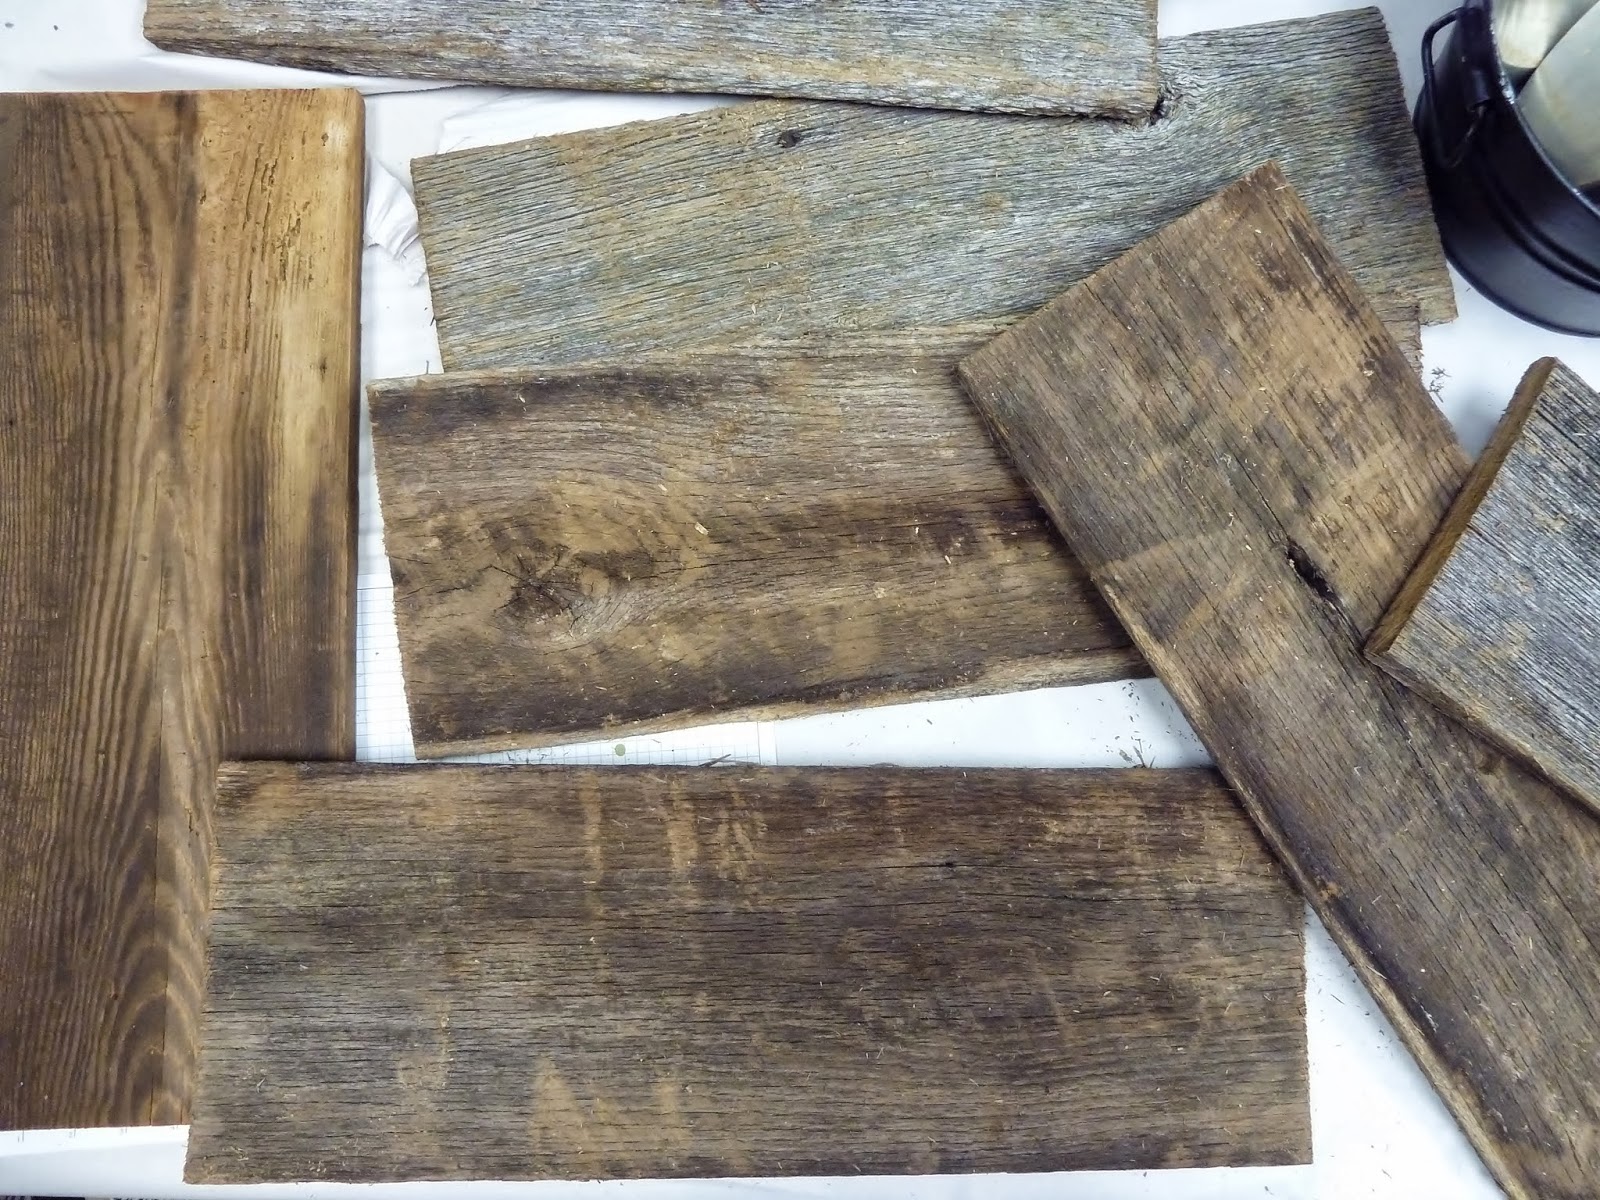
We started with a piece of old barn wood, supplied by Marie. Thank you, Marie!

Next we chose a body from the bucket of large, 8"-12" circular metal pieces. The body choices includes cake pans, pot lids, trays, plates, grates, can lids, burner covers and other items that I'm not sure what they are. It was difficult to find metal oval trays and lids.

The eyes are built with several pieces, starting with a 4"-6" round pieces. In this bucket there are metal lids from canned foods, smaller tin can lids, pans, lids, trays, molds, tart pans and much more.

To add dimension to the eyes we layered smaller pieces on top of the 4"-6" round pieces. Smaller eye pieces in this bucket include smaller ash trays, coasters, tart pans, condiment cups, jello molds and wheels. Some pieces had other shapes such as hearts and shells.

Bottle caps and jewelry were usually the smallest pieces added for the eyes.

Beaks were added with using old trowels with wooden handles, utensils such as a butter knives, copper measuring spoon and rusty can openers. Other options are vintage can opener, aluminum juicer, old shovel, rusty hindges and various other kitchen and garden tools.

Feet grasping a tree branch finish off the work of art. Available were regular size and small forks, spoons and butter knives. Also, some small gardening tools. On my owl in the beginning of this blog has claw ball feet. I found them at a yard sale in Stafford. Eye brows were also added using can openers, measuring spoons, feathers and back plates for kitchen door knobs.

The Drill Team
Frank drilled the holes in the metal and Rick drilled the screws to hold everything in place. While the two of them put the owls together, the rest of us worked on owl cards.

Using QuicKutz Owl die, we cut out several colors of Owl parts and mixed them up for some cute cards. Word stamps are from Stampin Up.

Then we ate!
But I don't have any photos of the food and table settings. We ate chili, corn bread, pumpkin spice bread and fresh cut vegetables.

Marie hand formed these adorable owl rice krispy treats and then covered them with chocolate. Eyes are mini oreo cookies and mini M&Ms.

Wooden block owls made with designer paper, paint and vintage buttons adorned the dining table.

Here's the whole group!

Kristi's Owl has a big heart!

Carol's Owl is ready for Christmas!

Tracey's Owl has many hearts and jeweled eyes!

Laura's Owl is a copper beauty!

Katie's Owl is full of love!

Marie's Owl is full of "Our Daily Bread"!

The whole gang!

Close up of three

Close up of other three

Copper ash trays, measuring spoons, tomato paste can top and bottom and two earrings, make up the top half of this owl.

Metal and plastic Coffee filters, bottle caps and turkey feathers found here at Painted Trails are great for the eyes. (there was more metal than plastic so we allowed them)

Rusty Christmas ash trays and bottle caps for the eyes. Two sets of eye brows.

Small jello molds and a pair of earrings make up this pair of eyes. The brows are back plates for cabinet door knobs.

Coaster and wheel eyes. Can openers brows and vintage trowel make up this adorable face.

Coasters, heart shaped molds and a pair of heart shaped earrings are the eyes for this loving owl. A trowel beak and back plate brows.

Small forks with three prongs are great for feet.

A heart shaped candle holder with the candle holder part removed adds a special touch to this owl.

A pretty angel tin can lid was attached to the belly of this owl to bring color throughout the piece.

I sure hope you enjoyed our project! Thanks to all the great attendees, Carol, Laura, Kristi and Katie for letting us play with them. Also, many thanks to Susan, Jim, Tracy, Marie, Rick and Frank for all their help and support to make this such a successful day!!
Could not have done it without you!
Love, Debi

.jpg)