April's Bridal Shower Tea
Decor and Projects
Wedding, Tea, Music, Lemons, Antiques, Books, Handmade, Painted
August 16, 2014
Greetings with a little pun for the, bride to be, who has been dating her man for 8 years!!
(White paint on a teal fabric cloth about 11' wide. Hemmed all around with pocket at top. That's a tea bag between about and time.)
At Painted Trails, the turkeys await you!!
Iron horse heads and lemon picks, holding torn fabric streamers,
beckon the guests down the lemon scented path.
Love these iron picks, originally made to hold Pineapples and Pumpkins, but are adorable with Pears, Lemons and Apples! April loves lemons, even as a very small child.

 Past the mud hall door, blocked with a weathered bench and watering can filled with flowers.
To the left of the front door, a Black Eyed Susan plant climbs up a metal lawn ornament.
Photo by S. Gammon. Flowers at the entrance.
Inside Decor Flowers and more
The wooden bucket, on the steps inside the front door, was painted with Caromal Colours
Inside the front door and to the right are glass string instrument vases
with original wire holders, filled with miniature roses.
Inside the front door and to the left, hangs an old harp given to us by a previous neighbor.
A Tea Time game awaits the guests upon arrival. Guest the name of the tea by smell, sight and touch. Kristen Angilletta created the game, signs and game card! Details on the wooden tea cup hanging on the wall above the are further down in the post.
April enjoys reading books, so I displayed some old ones.
The tarnished silver tea pot was given to Frank and I by his Aunt Ruth at our wedding shower.
My favorite turquoise crock.
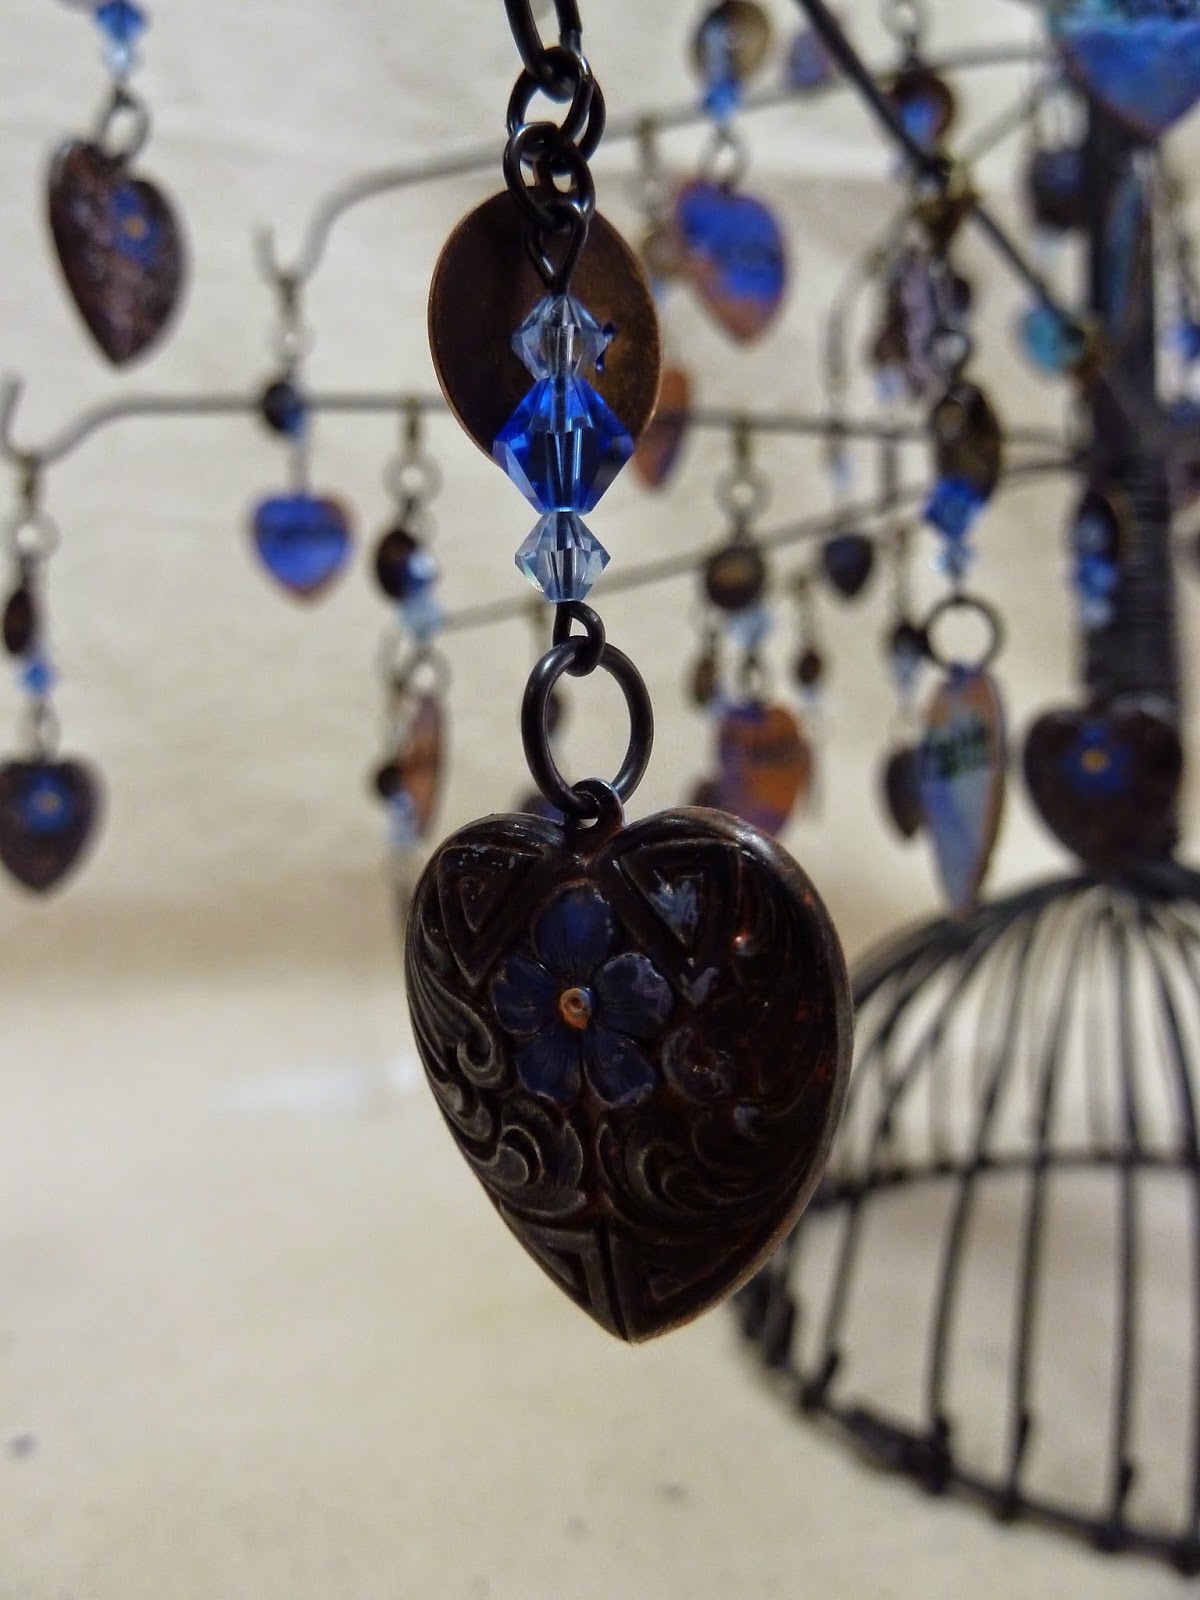
The wood slat tree is holding a vintage children's enameled tea set.
I created metal plate hangers out of wire to hang them from the tree.
On top of the old cheese cabinet is an old vintage doll house, a photo of Chuck and April and another vintage Pewter Tea Pot with miniature roses.
Ebay was the perfect place to gather all the old tea strainers from.
It was easy to create the cluster by using the existing hooks and
attaching them onto the chain of another strainer.
Cool wooden letters found at 3rd Time Charm, off Route one in Fredericksburg.
There were just enough letters to write their names and set them on the child's roll top desk!!
I paired a new pedestal plate, that I bought in a thrift store, with a vintage wedding topper, found many years ago at a yard sale, and covered it with a glass cloche!
I just think it can stand on it's own without other embellishments!
This little vintage metal tea set was found at R&R Antiques in Fredericksburg, VA.
From April's High School Days!
The Symphony & Tea poster I created for the
Rappahannock Youth Orchestra's Symphony & Tea, hangs on a wall in the dining room.
To the left of the poster, is one of the sheet music cones I created for
April's High School graduation party.
Also, from April's High School days are several music related cookie presses I made from clay.
Unfortunately, I ran out of time and didn't get the shortbread cookies made.
"love" banner made from a painter's drop cloth and
printed using a rubber stamp and black paint.
A cluster of Fabric Streamers hang on a wall in the kitchen.
Pick some cotton fabrics that match your decor or have a special meaning for your honored guest, make small cuts about 1.5" apart along the side of the fabric and tear to create the fabric streamers. If using a fabric other than cotton, test to see if it will tear. If not you will need a good pair of fabric cutting scissors and cut each streamer individually.
A cute aluminum tea pot holds colorful
flowers on the powder room window sill.
April and I are standing in front of a wooden cut out heart that is painted with Caromal Colours using my old standby, Textured Basecoat in Chocolate, Chipping Cream and Reclaim in Nantucket. The bow is a printed burlap.
Table Settings
Three tables set for Tea.
Table legs on the table on the right were painted with Caromal Colours Textured Basecoat in Chocolate, Chipping Creme and Reclaim Off-White.
Each place setting had a round paper place mat (intended as a serving paper), vintage ironstone plate (from April's Grandmother), Spill the Tea game card, cotton napkin and a cup and saucer from mismatched pieces purchased at local thrift stores.
Tea Cozies and Tags

We used sheet music from old music books as table runners. My collection of vintage pewter containers held various colorful flowers. Each table had three tea pots filled with hot fresh brewed Perryletta tea. Each tea pot was covered with a handmade Tea Cozy. The Tea Cozies are embellished with two fabric tags made with fabric copies of April and Chuck's engagement photos.
I measured each tea pot, cut the fabric to fit, sewed them together with different tabs of embroidered ribbon. Then stained them with walnut stain. After they dried I added different colored binding.
http://chezroo.blogspot.com/2012/06/lets-get-acquainted-tea-squared-tea.html
This is where I found out how to measure the pots for the tea cozies.
Walnut stained tea cozies, drying
They came out a bit darker than I was going for but I still love them!!
Found this embroidered ribbon in my stash!!
This one of my favorites! It reminds me of the 70's.
This tab is from a vintage belt I found in my stash.
This one has some nice teal in it.
This is the first tag I made, but soon found out that
I didn't have enough time to stitch a blanket stitch around all the tags.
Tags were made by printing engagement photos on Jacquard Inkjet Fabric Sheets, then cutting and sewing them onto a piece of tea stained fabric.

For the backs of the tags I used old vintage dish towels.
I used vintage Pearl embroidery thread to attach the tags to the Tea Cozies.
Each tag was embellished with a small pewter tea pot charm.
Above are some of the tags I made.
Antique Wedding Dress Display
Photo by Sue Gammon.
My Mom's vintage wedding dress in a dusty rose and her wedding night robe.
Dried Hydrangeas from our garden.
I had this old locket and filled it with pictures of my parents from their wedding day.
I just this old green painted hanger!
It belonged to my mother as a child.
Tea Cup Signs!!!
Not sure if I mentioned that I had a special tea blended for the happy couple.
Once upon a time, after hearing about friends that combined their last names to create a new last name, April and Chuck, came up with a unique blend of their own last names.
Being that his last name is Perryman and her's is Angilletta,
they thought "PERRYLETTA" was the perfect blend!
I liked it so much, I used it for the tea blend name.
Here is the blend!
Now for the details on the cup signs.
Using 3/4" plywood my husband, Frank, and his sister, Dawn Santos,
followed my drawing on the plywood and cut out the tea cup and saucer shapes.
I painted each shape a different color using Caromal Colours Textured Basecoat Paints. I used Chocolate as the base for all cups. Then painted on the Chipping Creme. On top of that I painted one of each color, Parchment, Bayberry and Colonial Blue.
Then I started chipping away!!
When chipping, I created shadow areas to distinguish
the handles and saucers from the cups.
On the two smaller cups, which are actually 16.5" x 24" in size,
I painted two stripes across the top.
On the large 19.5" x 35" green tea cup sign,
I created a stencil using my Cameo machine and stenciled the name in
Caromal Colours, Chococolate.
Party Favor Purses!!!
http://cailamade.com/love-letter-clutch-tutorial-and-pattern/
The site above is where I learned how to make the Party Favor Purses.
She leads you to the site to purchase the hardware as well.
ate. I used vintage and new fabric to create the bags.
Most fabrics were found in my stash of old linens and some were from April's childhood.
Each favor purse contained a package of the Perryletta Tea Blend!
I used the program, My Digital Studio from Stampin Up,
to create the labels for the packages of tea.
The Cello and Banjo drawing was designed by my daughter April!
The page of labels was printed on Avery's Large Label 8165 paper.
I used Framelits - Labels Collection (125598) die cut from Stampin Up, to cut the labels.
It doesn't show up too well but, I used an ink pad to add a little more color
to the labels after cutting them out.
The one on the right shows the added color a little better.
We added a couple of single drawstring tea bags, for the blend, into the purses.
Last Few Details!!
For a Tea we had several food choices.
Each food was assigned a tea cup name card.
On the light colored tea cups we used a Black Sharpie Pen.
On the black tea cups we used a Silver Sharpie Pen
Tea cups were cut from card stock using my Cameo cutting machine.
I layered the two different sized cups, however,
it looked best to cut the handle off and glue it separately.
The music not embellishments were also cut using the Cameo.
Wooden blocks were painted and aged,
as the base to hold the tea cup signs.
I used my Dremel to drill holes for the wire.
16 gauge wire was used to create the holder for the sign.
I used pliers to hold the wire at one end and
turned the wire around the pliers to create a swirl.
After a few turns, I made a good bend in the wire
so it could stand in the wooden block.
Brown baker's twine was tied, simply, on the wire.
Wahlah!!
Guests received Memory Cards for the bride in their invitations.
They completed them and deposited them in this bucket at the Tea.
The cards were read during gift opening and if the bride could guess who's memories were being read, the author of the card chose a gift from the Prize Bench.
Prize bench photos!!
Well, that's it for now!!! Hope you enjoyed all the photos and tips!
Thanks for looking at my creations!
Want to make something?
Check out my website, www.deborahgaylestudio.com
Under Creative Classes, click request on the right.
Design Services, has many ideas.
If you see something you would like to make send me an email, debi@deborahgaylestudio.com or call 540-429-1942
and we can set up a class!


.JPG)
.JPG)


