Saturday, December 20, 2014

Rusty Pocket Ornaments


Rust Pocket Ornaments


In 2013, my friend Martha gave me 16 rusty metal pockets!
I made an art journal page with my idea.
Following is what I did with them.


Each pocket is approximately, 1 3/4" tall x 2" wide and 3 3/4" to the top of the handle.


I chose sheet music strips to decorate the pockets.
  Mod Podge, with a matte finish, was used to adhere the strips of paper to the pocket


I painted the Mod Podge on the pocket and on the back of the paper, then laid the paper strip on the pocket and covered the entire pocket with a light coat of the Mod Podge.  


1 year later!!


I dug out all my trimmings.  There were sisal trees and wreaths, feathers from our birds, greenery, berries, ribbons, linen thread, jute and much more.


I used a low temp glue gun to secure the items in each pocket.


That was 15 of them.  The one with the hen feather is missing, but you can see it below.


That was all 16 of them. 


1 of my favorites


Another favorite! Grass from Hilton Head, green string from an old tag.


Our hens feather and a Guinea Hen feather, bow was jute.


Linen thread, from Stampin Up, for the bow.


A handmade bee I picked up on my travels.


Found some little mittens at Primitives by Kathy.


Beach time!  Mini sand dollars, sea oat pieces and dried grasses found on the sand.


Hanging on the tree!


My three favorites!


It looks like the hens, black and white feather has strips and dots.  
But what you are actually seeing are the dots on the Guinea feather showing through the hens feather.  I just thought it was cool looking!!


That's it!

Thanks for looking at my creations!  
Want to make something?  
Check out my website, www.deborahgaylestudio.com 
 Under Creative Classes, click request on the right.  
Design Services, has many ideas.  
If you see something you would like to make send me an email, debi@deborahgaylestudio.com or call 540-429-1942 
and we can set up a class!


Wednesday, November 12, 2014

Monahan

Botanicals

Home Decor Paint

a collection by caromal colours


The Botanicals are luscious and creamy paints inspired by the enchanting gardens of Europe. They are designed to bring a similar beauty into your lifestyle by enhancing your furniture, cabinets, and accessories with a gorgeous matt, chalky luster.
These paints are incredibly easy to use, brilliantly versatile in application, and wonderfully durable.  Even if you have no experience, you can achieve a stunning array of custom finishes in your home.
They flow beautifully, cover completely, sand like a dream for distressing and don't require wax to finish.
The collection is water based, non-toxic, and perfect over any clean, dry, home surface such as wood (raw, painted, varnished), metal, glass, plastic, tile, masonry etc. with
no stripping, sanding, or priming.
Brush, roll, "mush" (stipple), or wipe it on surfaces. Discover all the possibilities of this versatile product -- Home Decor Paint, silky by nature, is thin enought to achieve smooth finish as well as soft distressing effects when colors are layered.
*For more dramatic effects, consider using them with the Country Living Artisans Collection of Textured Basecoats or RECLAIM Beyond Paint.

Come on call me at 540-429-1942 or email me at debi@deborahgaylestudio.com and we can —have tons of fun and create something extraordinary...

Thursday, October 30, 2014

Mom's 90th Birthday Party Favor


Mom's 90th Birthday Favor 

September 13, 2014


Each guest at Mom's big bash received a charm!


Each charm was attached to one of 8 photo cards.


We printed a message, from Mom, on the back of each card.


I was asked to plan the favor and worked with my Mom to create this special gift!


We decided on a charm!
I embossed some round disks, stamped some stars and put together the charm on the right.


We decided to shorten the charm and lessen the work.


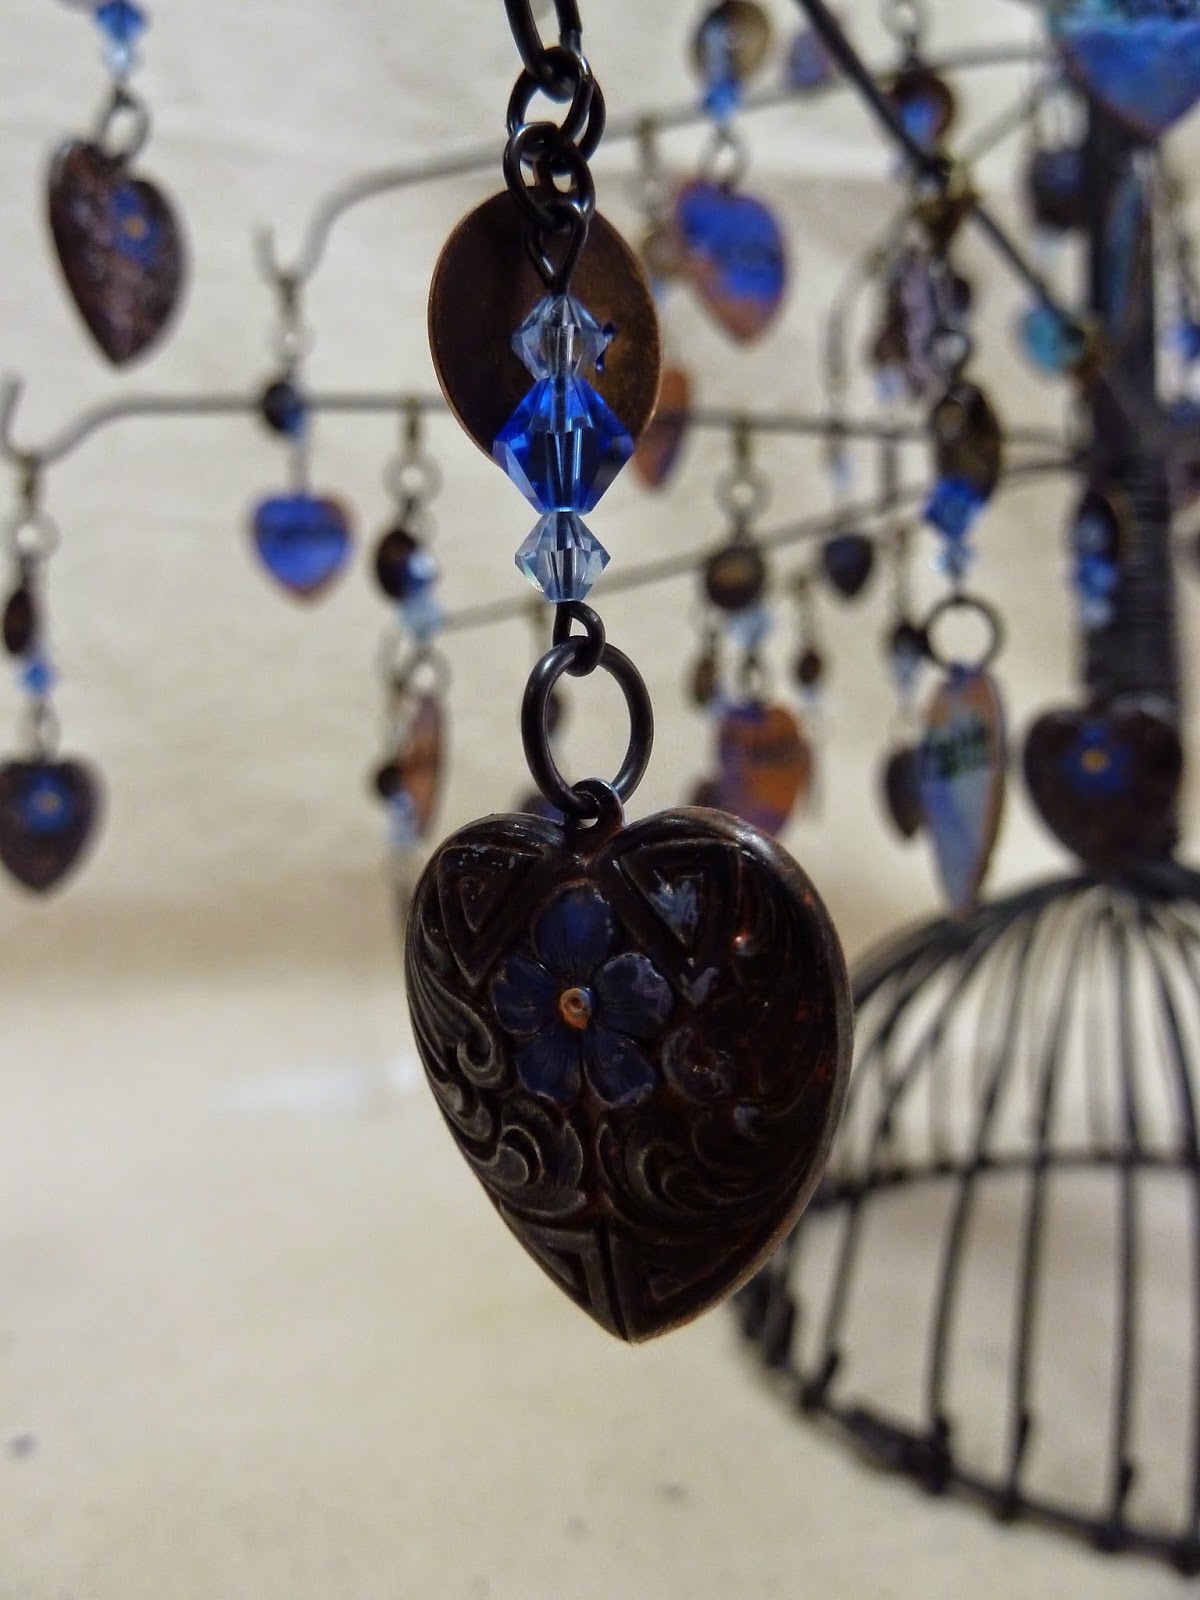
Mom suggested that I use two strands of her glass beads, in two shades of blue, to add to the charms.


After taking the strands apart, I reassembled them using metal eye pins, from Vintaj, with loops on one end and then using a 1-Step Looper tool from Vintaj, I was able to make a perfect loop for the other side. 


Bead combinations varied for each charm.


Now for the metal heart!


The Metal Forget-Me-Not Heart from Vintaj has a hollow backside. 


 I filled the backside of the heart with a white polymer clay.
The word Faith, which is very important to my mother, was stamped in the clay with an vintage letter stamp set.

We wanted the piece to look aged. After baking the hearts,
 according to the manufacturer's instruction, 
I dry brushed Clay Vintaj Patina on each heart.

I filled in the word, Faith, with black patina by brushing it in the impression and then wiping off the excess with a very lightly dampened cloth.

Vintaj carries a line of Patinas which are opaque inks specially formulated to adhere to metal.

I tried several different colors and settled on mostly blues.  They looked best with the crystals. 

The Front of the Heart!


The Forget-Me-Not flower, on the front of the heart, was painted blue with a yellow center to mimic the realistic flower colors.

Using a slightly watered Clay Patina color, I added the wash to the heart.


Then wiped off the excess and let it dry.

Vintaj also has a glaze that can be used to seal the metal.

Lastly, the word circles!


Using three different word metal stamps, HOPE, JOY and LOVE (Beaducation), I stamped a brass circle from Vintaj.  

Words were painted with Cobalt Patina. I rubbed off the excess with Pro Polish Pad from Beaducation.

The charms were assembled with Vintaj findings on a Lobster Clasp. 

To finish off the gift, I used My Digital Studio from
  Stampin Up to create a message and display card, 
as seen at the beginning of this post.


With one of my left over efforts, I made the above charm and gave it to a special friend!

Thanks for looking at my creations!  
Want to make something?  
Check out my website, www.deborahgaylestudio.com 
 Under Creative Classes, click request on the right.  
Design Services, has many ideas.  
If you see something you would like to make send me an email, debi@deborahgaylestudio.com or call 540-429-1942 
and we can set up a class!